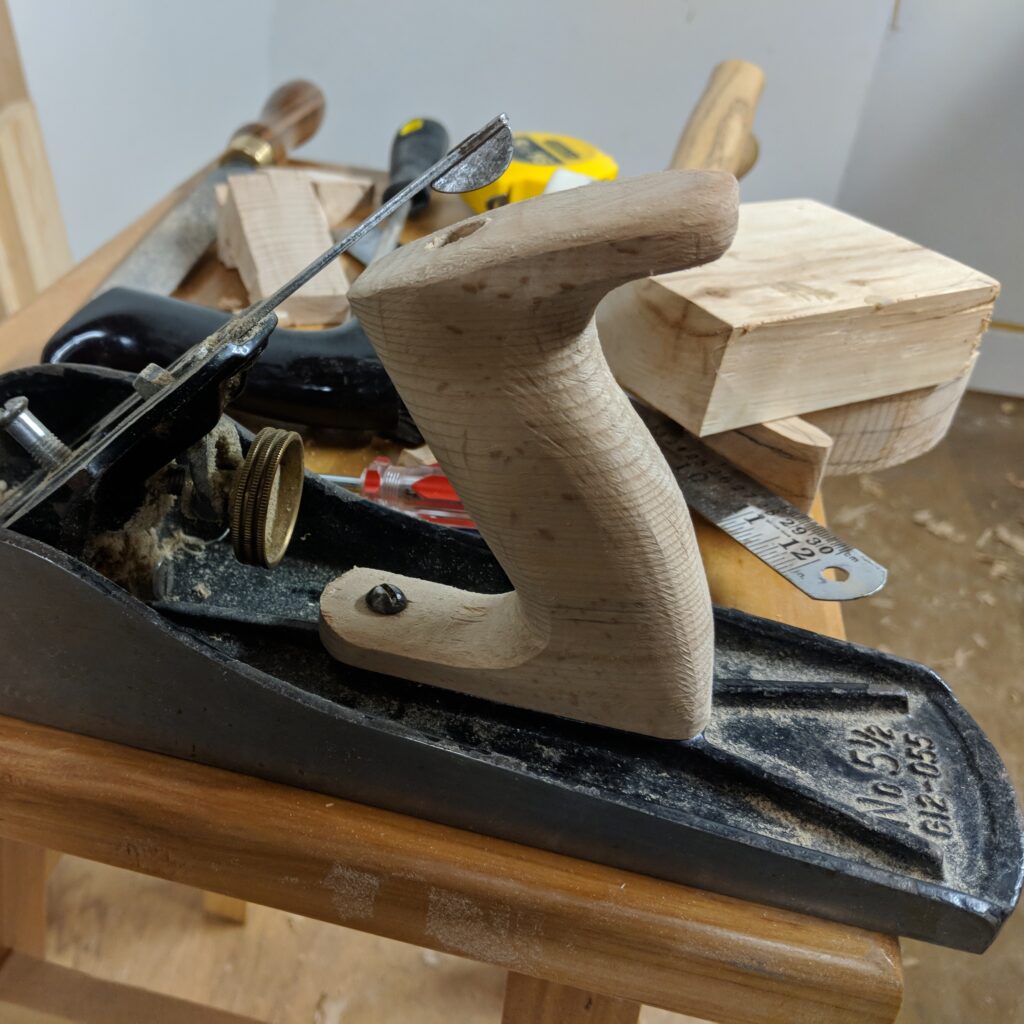
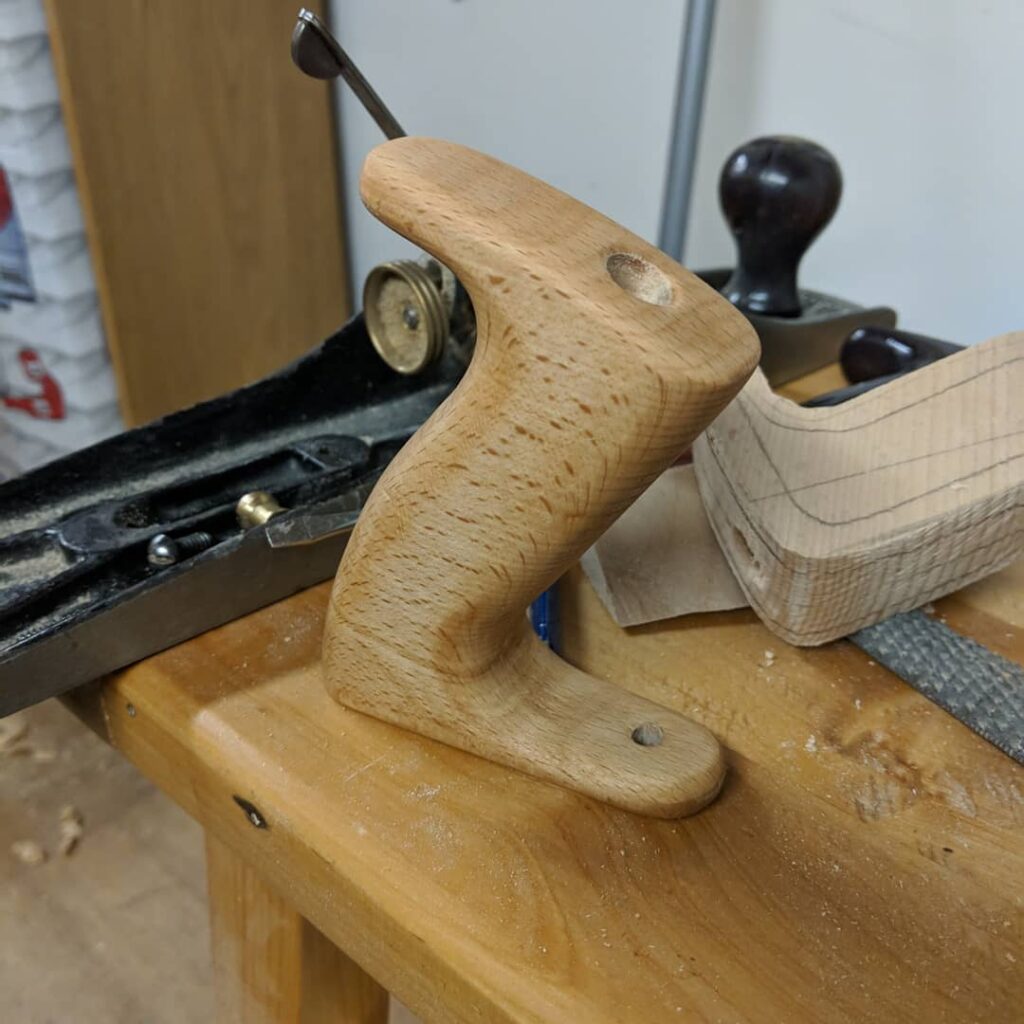
A quick, but immensely helpful little shop project, this. My long Stanley No. 5½ handplane is super-useful for achieving a nice straight edge on whatever I’m working on. It’s not too heavy, but I tend to use it for final straightening rather than hogging off lots of material.
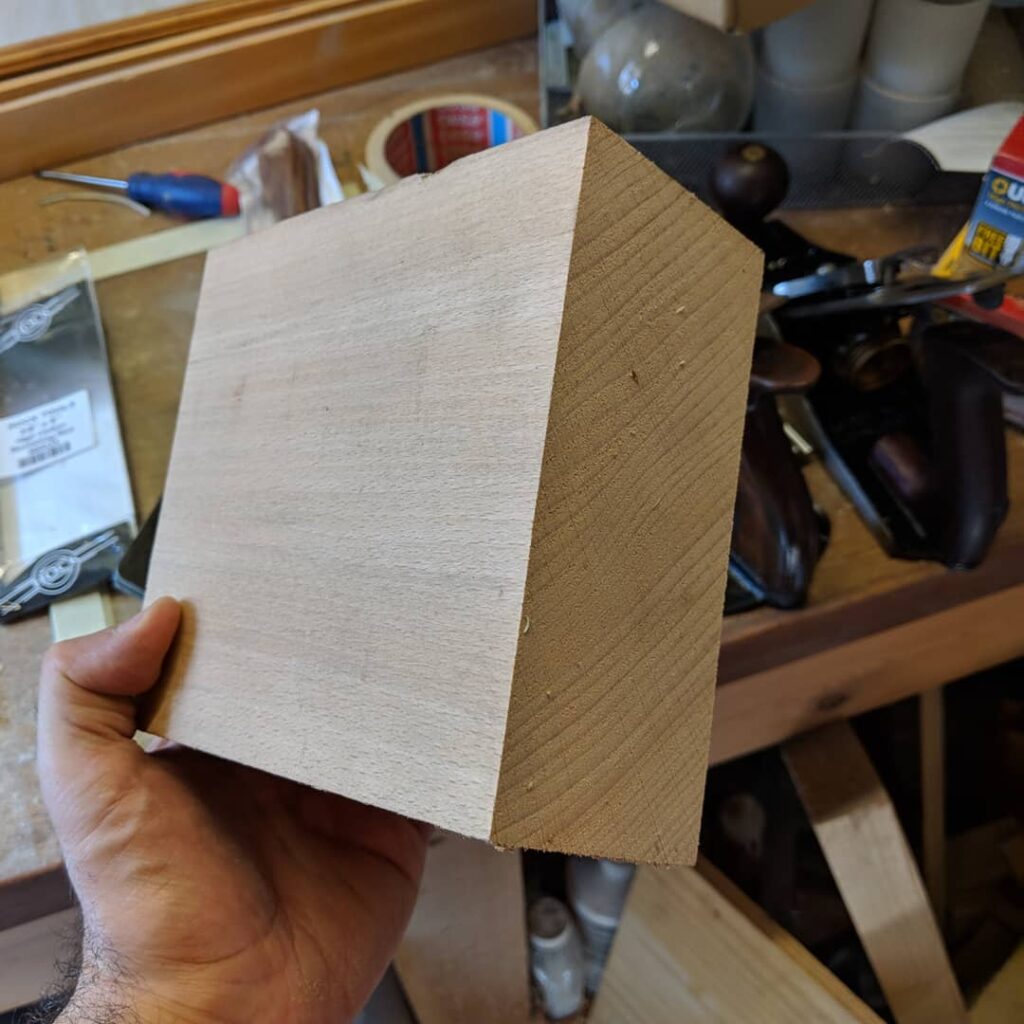
The crappy plastic tote (handle) it came with was broken into pieces around the mounting screw, so it was time to turn a rather fetching lump of beech into some replacement totes for my hand planes. Bye-bye horrible (and broken) plastic tote.
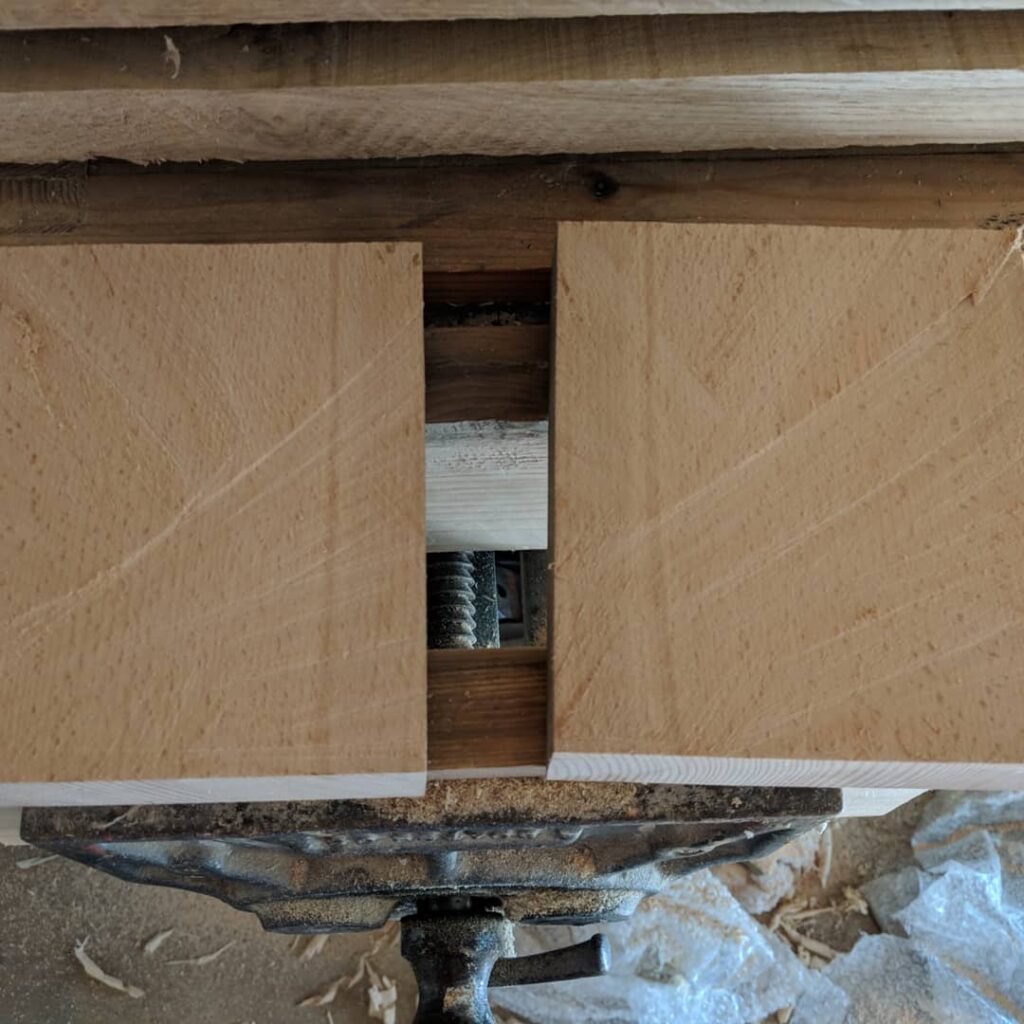
First step, flatten one face and mark a centerline, allowing for saw kerf. Then resaw with my big bad rip saw 😬
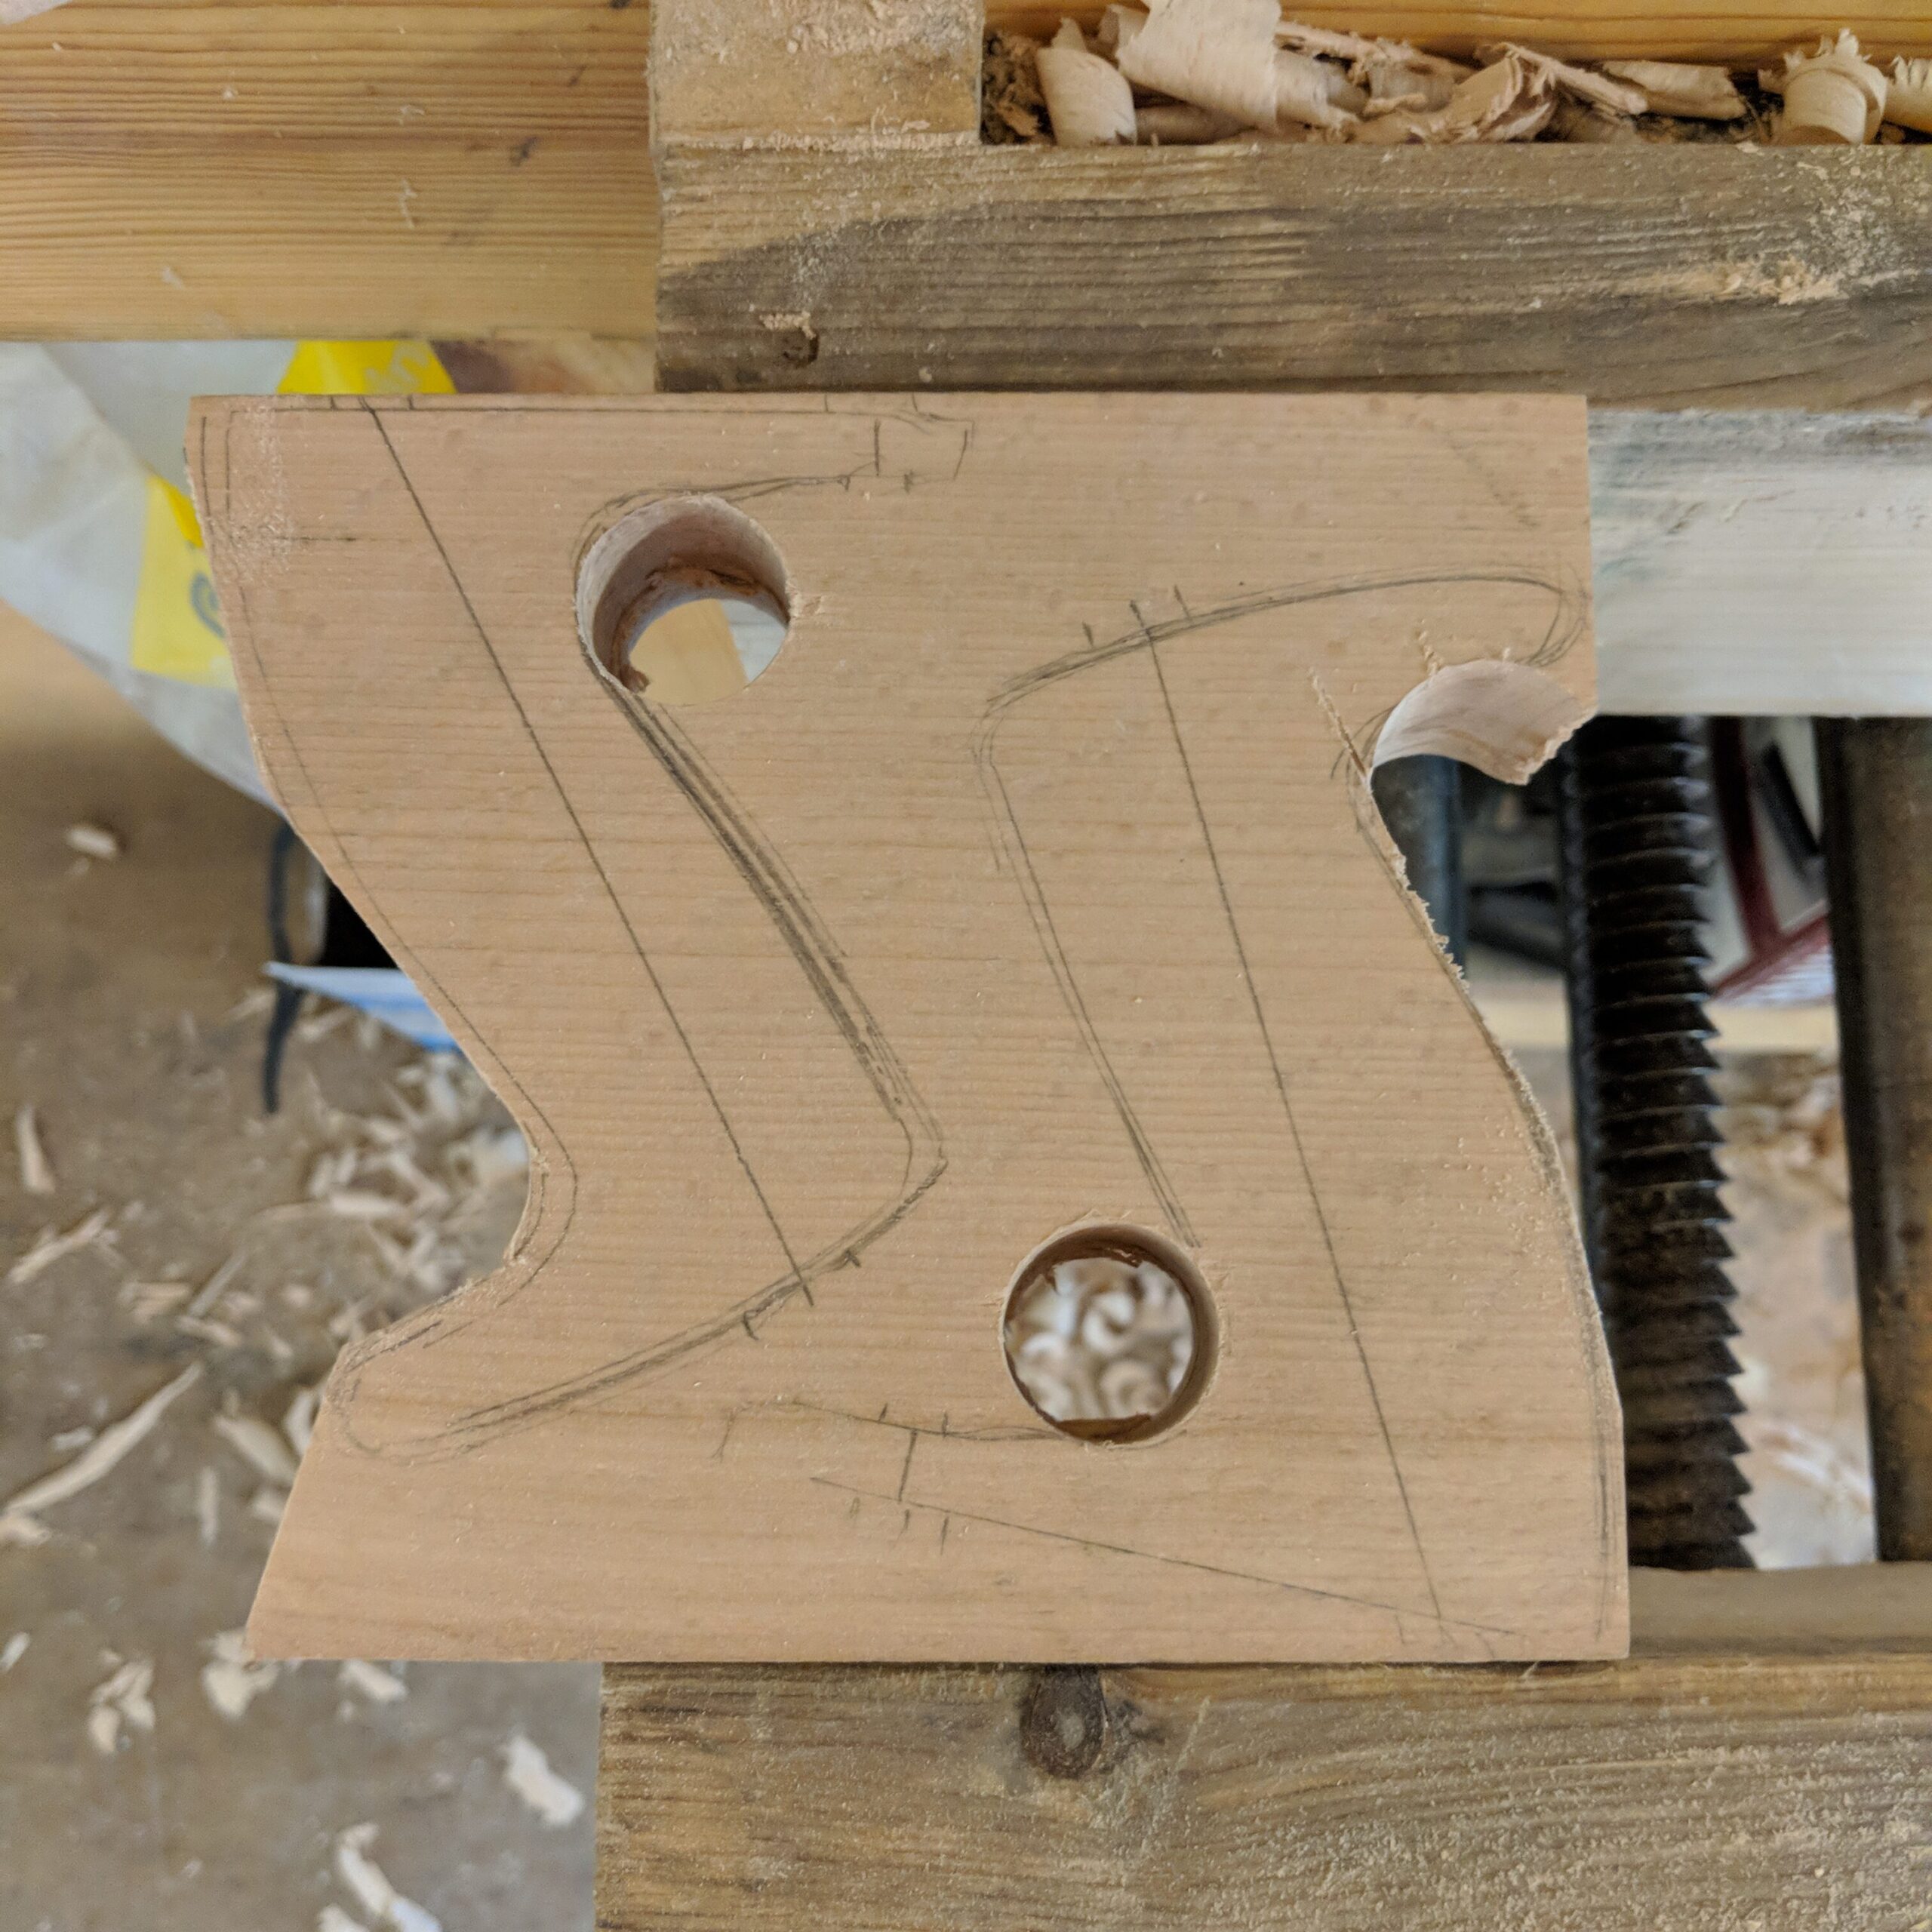
Next, sketch out the shape of the old tote, marking where the holes will need to be drilled. Then drill out some big holes to get the curves in the right place. I drill with a bit and brace through to when the point breaks through, then flip around and drill back from the other side for a neat hole on both sides.
While the block is still intact, now is a good time to drill the long hole down the centre for the screw. Wider hole first for the screw cap, then the rest in the thinner size for the threaded rod.
After that, use a handsaw and coping saw to remove most of the waste, then set to it with the coarsest rasp I can find. (Top tip: tape up your fingertips first.)
I sketch some rough lines around the curved bits of the tote to aim for, along with the centerlines.
Rasp, rasp, rasp, file, file, file. Time passes.
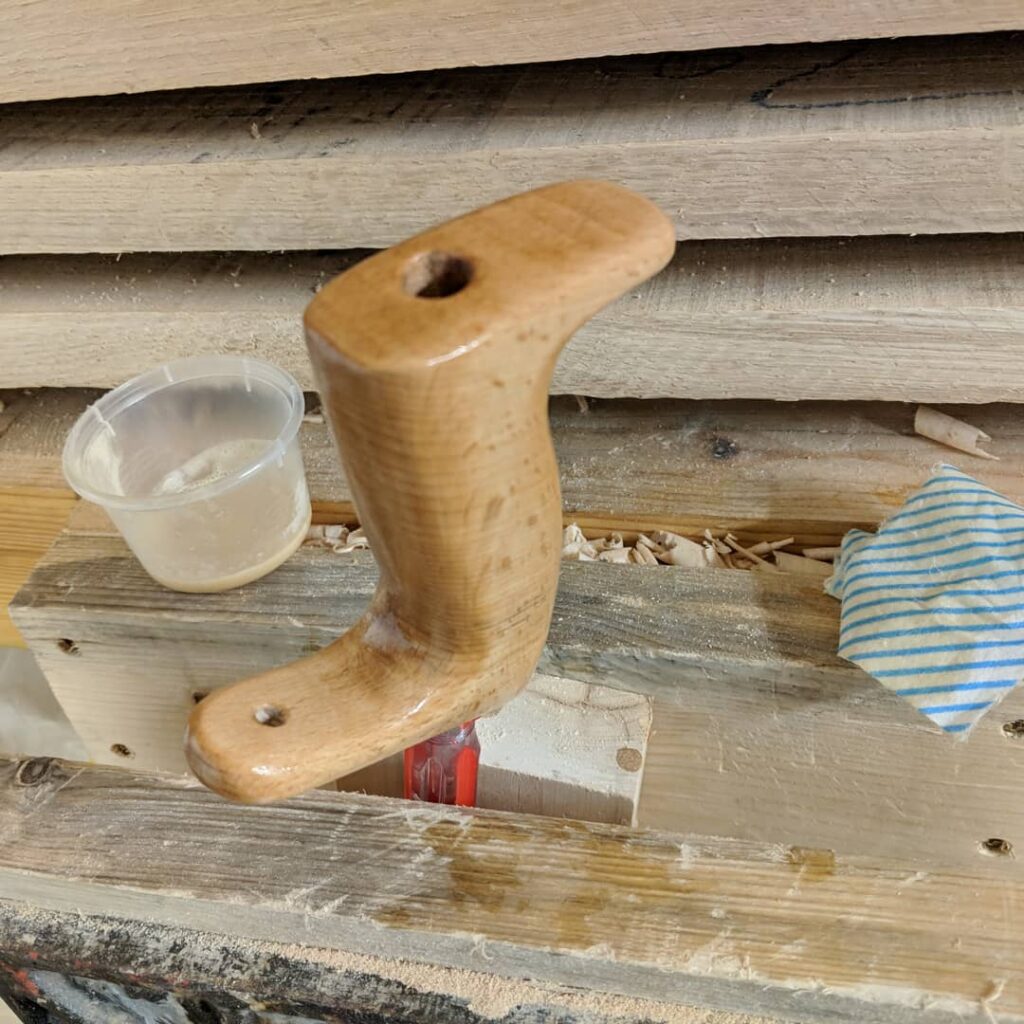
Then a bit of sanding, and shellac to finish. Much nicer to look at and to hold.